

Images & Media in Web Editor
Learn how to add, manage, and optimize images and media using the Documentation.AI web editor
Add images, videos, and other media to your documentation using the Documentation.AI web editor. All uploaded media is automatically optimized and served from a CDN for fast loading.
Adding Images
Upload with Slash Command
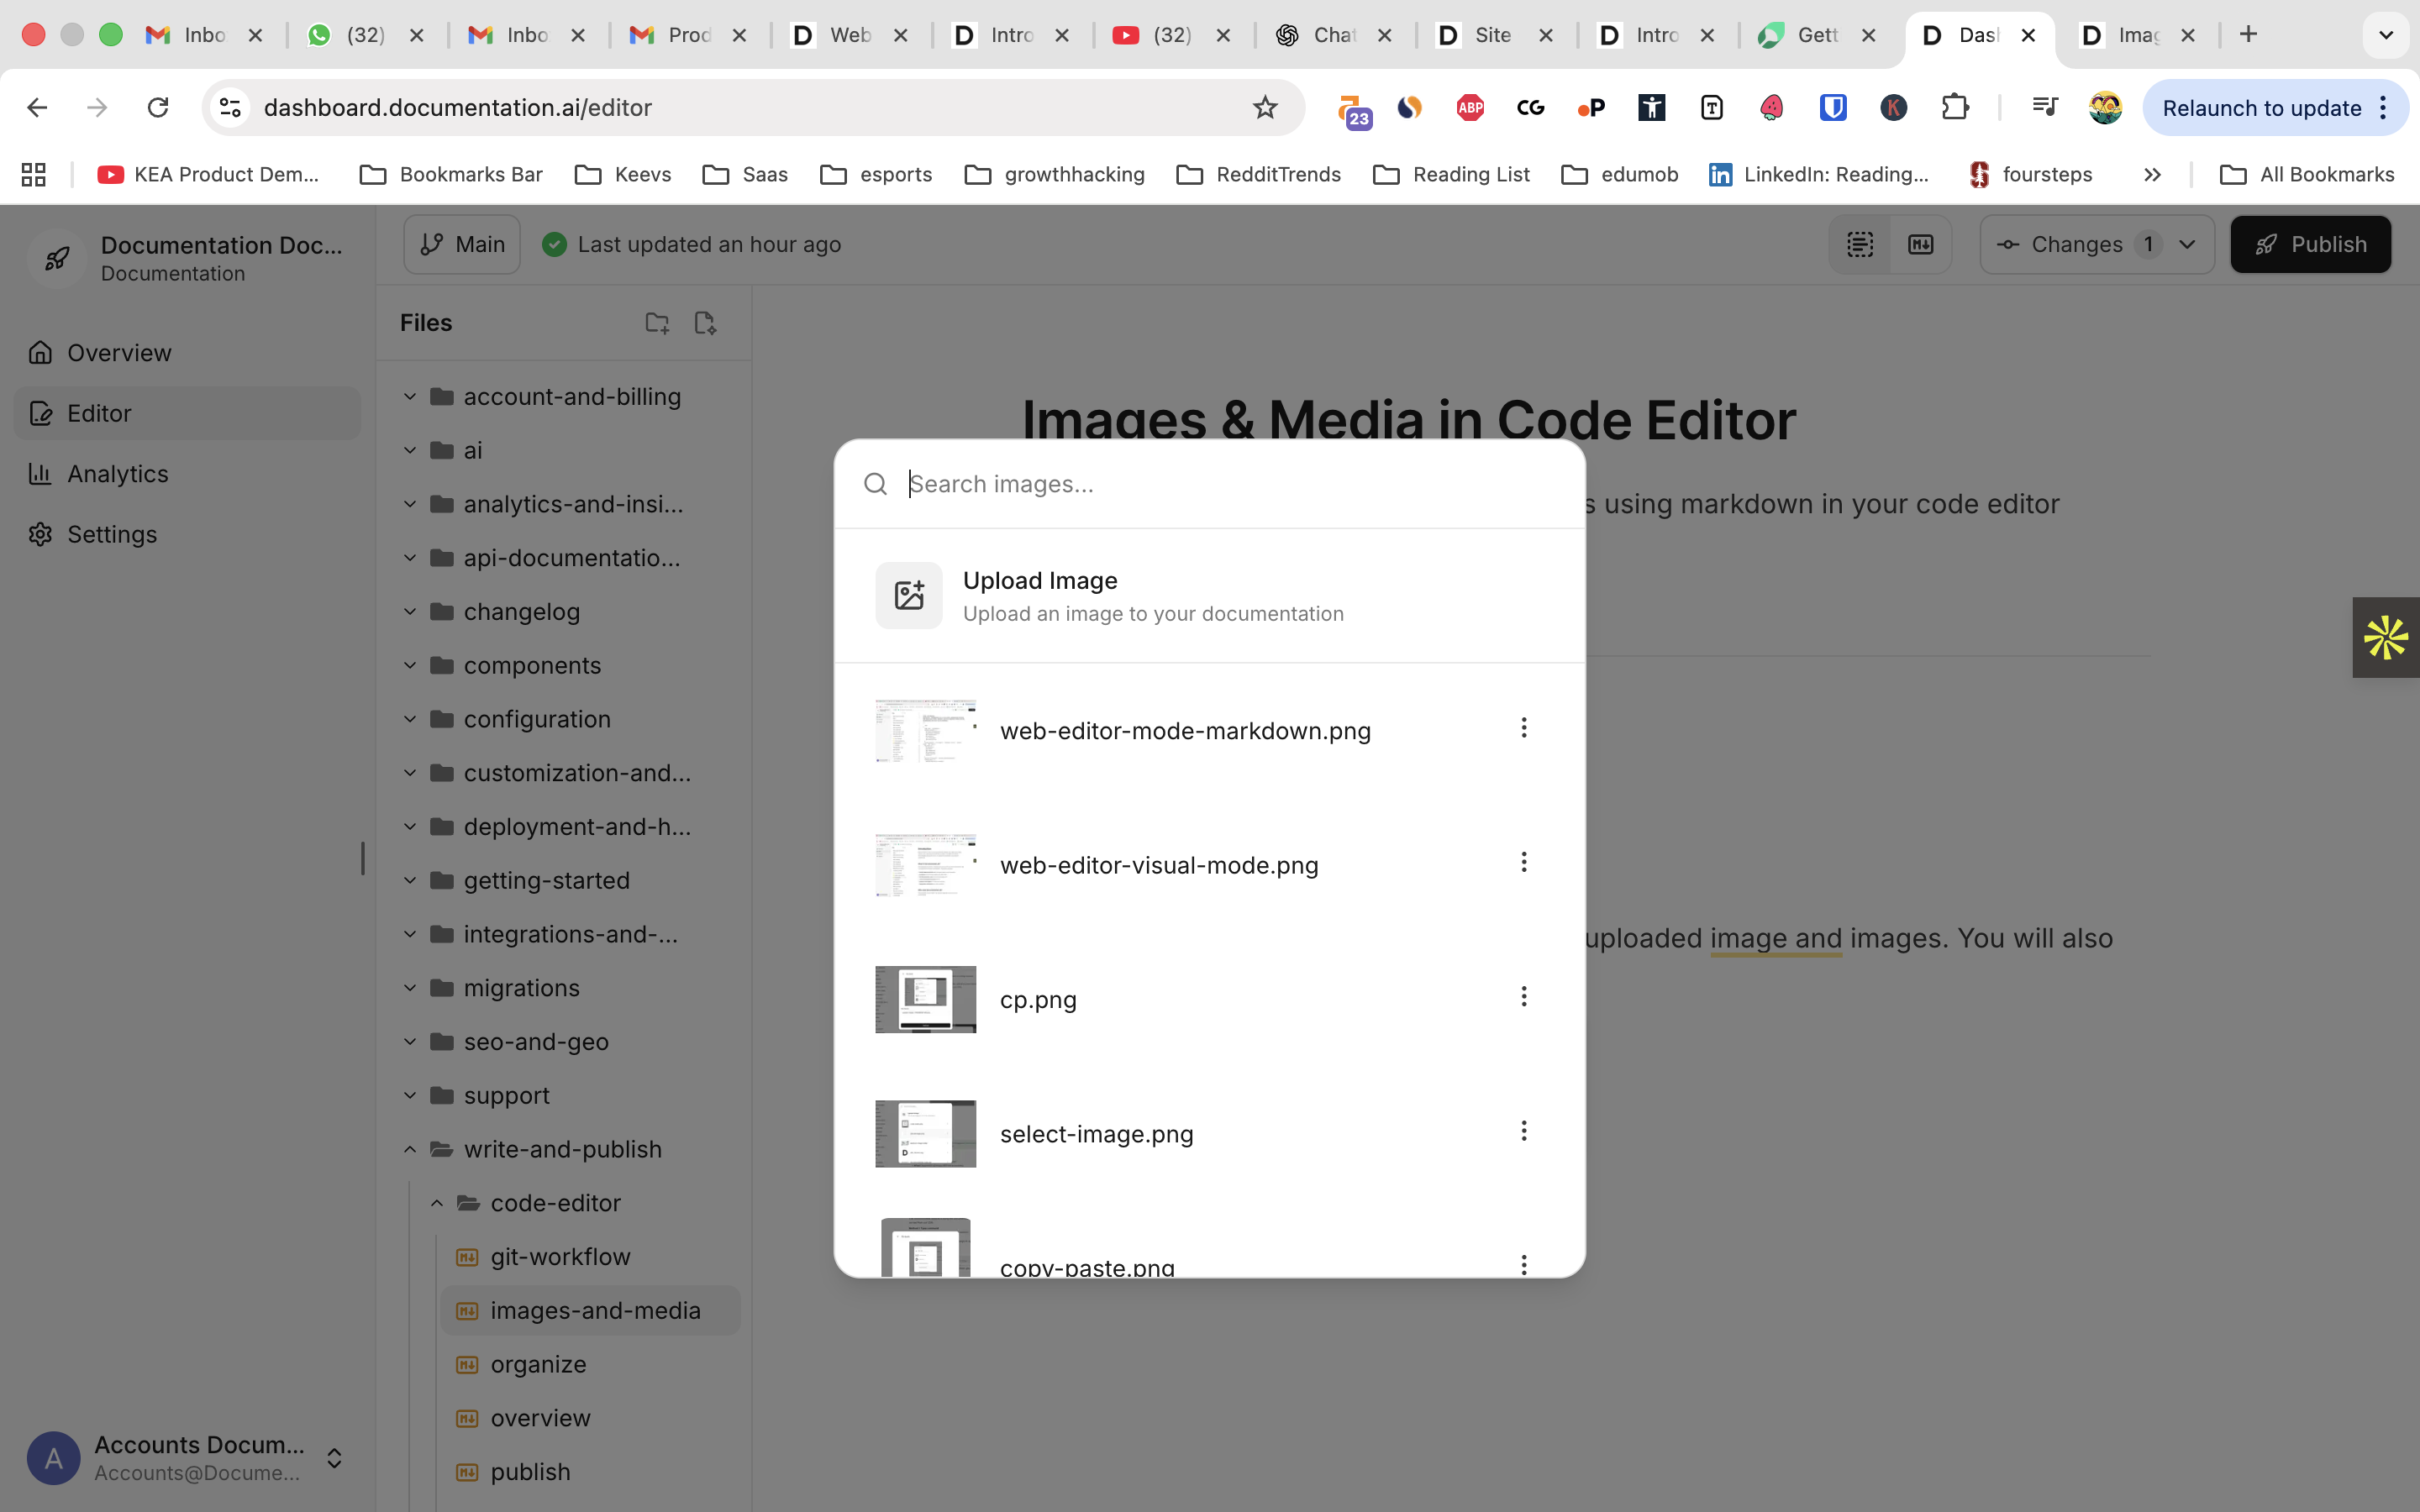
Use the /image command to access your media library and upload new images:
- In the web editor, type
/imagewhere you want to add an image - Select
Imagefrom the component menu - Choose from options:
- Browse uploaded images: Select from your existing media library
- Upload new image: Click the upload button to add new files
- Paste image URL: Enter an external image URL
Copy and Paste Images
Directly paste images from your clipboard:
- Copy an image from any source (screenshot, image file, web browser)
- Place your cursor where you want the image
- Paste using Ctrl+V (Windows/Linux) or Cmd+V (Mac)
- The image will automatically upload and insert
Image Configuration
After adding an image, configure its properties in the component panel:
- Alt text (required): Add descriptive text for accessibility
- Dimensions: Set width and height for layout optimization
- Alignment: Use CSS styles for positioning
- Priority loading: Enable only for above-the-fold images
For complete Image component options, see the Image component reference.
Adding Videos and Media
Video Uploads
Add videos using the /video command or component menu:
- Type
/videoin the editor - Select the Video component
- Choose your video source:
- Platform embed: YouTube, Vimeo, Loom URLs
- Direct video file: Upload MP4, WebM, or other video files
- External video URL: Link to hosted video files
Platform Video Embeds
For YouTube, Vimeo, and Loom videos, use embed URLs (not watch URLs):
<Video
  src="https://www.youtube.com/embed/VIDEO_ID"
  title="Descriptive video title"
  width="560"
  height="315"
/>
Configure video dimensions and accessibility title in the component panel. For complete Video component options, see the Video component reference.
Iframe Embeds
Embed forms, tools, or other external content:
- Type
/iframeto add an iframe - Enter the URL of the content to embed
- Set dimensions and accessibility title
- Configure security settings if needed
Use iframes for Google Forms, interactive demos, or other web tools. For complete Iframe component options, see the Video and Iframe reference.
Supported File Types
Images
- JPEG/JPG: Standard photo format
- PNG: Graphics with transparency
- GIF: Animated images
- WebP: Modern, efficient format
- SVG: Scalable vector graphics
- ICO: Icon files
Videos
- MP4: Most compatible video format
- WebM: Modern web video format
- OGV: Open-source video format
File Size Limits and Optimization
Upload Limits
- Maximum file size: 20 MB per file
- Recommended image size: 100-200 KB for optimal performance
- CDN optimization: Automatic resizing and format conversion
Performance Best Practices
- Compress images before uploading when possible
- Use appropriate formats: JPEG for photos, PNG for graphics with transparency
- Set dimensions to prevent layout shift during loading
- Enable priority loading only for above-the-fold images
- Add descriptive alt text for all images
Image Optimization Tips
- Keep file sizes under 200 KB when possible
- Use WebP format for better compression
- Set explicit width and height to improve Core Web Vitals
- Documentation.AI automatically optimizes uploaded images
Media Management
Current Limitations
Currently, you can only view and manage media through the / command in the editor. A dedicated media management interface will be available soon.
Viewing Uploaded Media
Access your media library:
- Type
/imageor/videoin any document - Browse through previously uploaded files
- Select and reuse existing media across different pages
- View file details and usage information
Organizing Media
- Use descriptive filenames when uploading
- Add comprehensive alt text for searchability
- Group related media by uploading them during related content creation
- Reuse media across multiple pages to maintain consistency
Troubleshooting
Common Issues
Getting Help
If you encounter issues with media uploads or display:
- Check the Troubleshooting guide for web editor issues
- Review Error Codes for specific error messages
- Contact Support for technical assistance
Next Steps
Continue building your documentation:
- Organize Content: Structure your documentation effectively
- Web Editor Overview: Learn more web editor features
- Publishing Process: Deploy your documentation changes